My son saw this picture of himself sledding with friends, their sleds linked together, and he said "Oh, that is so CLASSIC!" Hence the title "Classic Sledding!"
Everything is from the kit except the red gems I found in my stash. I layered them on the sweet silver snowflake trim in the kit.
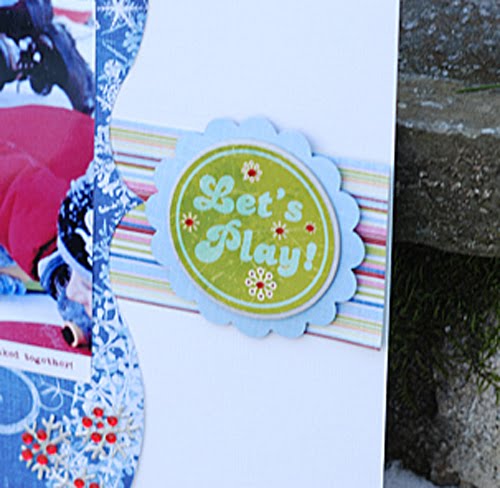
I love taking a ready-made product and making it my own. I took the "Let's Play" sticker in the kit and embellished it. The sticker was mounted on a plain chipboard circle, and the sweet snowflake images on the sticker were accented with tiny red beads in the center. A scalloped circle cut from patterned paper in the kit using my Cricut finished it off:

It's mounted using pop dots to give it some dimension.
Something else I like to share is how to match your font color to your photo. There may be other ways to do this, but this is how I do it using Adobe Photoshop Elements:
1. Scan your photo using PSE.
2. Click on the background/foreground squares on the lower left corner and an eyedropper will pop up. Use this eyedropper to pick the area of the photo you'd like to copy the color code of.
3. You have just "picked the color" and it code will show up in the color picker box shown below.
5. Click on the text color box and click on "more colors" as shown below.
6. Enter the color code right into the box as shown and your font color will match the color you picked from the photo!
In my Classic Sledding layout, I picked a color from my son's jacket for the title and journaling.The CHA talk is so exciting! Can't wait to see what Beth will be bringing in from CHA!
Have a creative day!


No comments:
Post a Comment